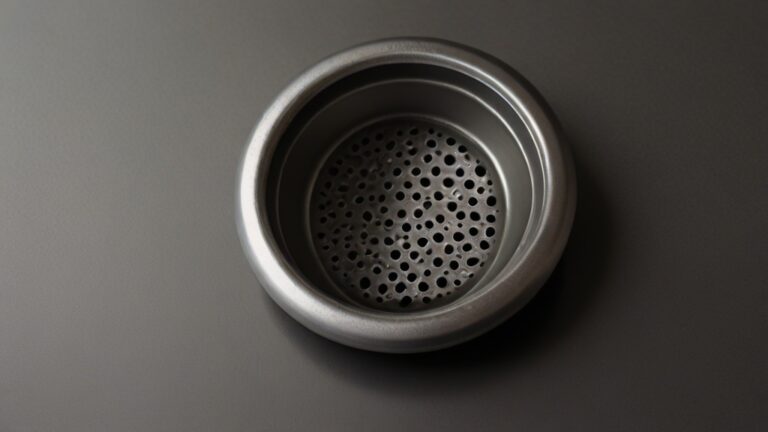
Have you ever struggled with removing the metal filter from your sink? It can be a frustrating and time-consuming task, but fear not! I have created a simple tool that will make this job a breeze.
To easily remove the sink metal filter, all you need is a pair of pliers and a small strip of duct tape. Start by wrapping the pliers with the duct tape to protect the metal surface of the filter. This will prevent any scratches or damage while you are removing it.
Next, carefully grip the metal filter with the pliers, making sure to apply a firm but gentle pressure. Slowly twist and turn the pliers to loosen the filter from the sink. Be patient and take your time to avoid any accidents or injuries.
Once the metal filter is loosened, simply pull it out of the sink with the pliers. Voila! You have successfully removed the metal filter without any hassle.
Now that you have learned how to easily remove the sink metal filter, share this useful tool with your friends and family. They will thank you for making their lives easier!
Extra Tips:
1. How often should I clean the sink metal filter?
Regularly clean the sink metal filter to prevent clogs and buildup of debris. Aim to clean it at least once a month to maintain optimal drainage in your sink.
2. Can I use this tool on other types of filters?
Yes, you can use this tool to easily remove various types of filters, such as in your shower or bathtub drains. Just remember to protect the surface of the filter with duct tape before using the pliers.