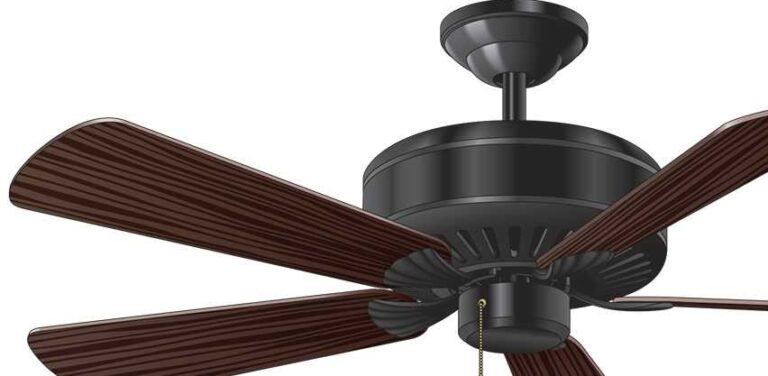
Ceiling fans not only enhance the aesthetic appeal of a room but also provide comfort by circulating air effectively. However, installing a ceiling fan can seem like a challenging task, especially when dealing with short wires or an unstable hanger. This article offers a step-by-step guide on how to hang a ceiling fan securely, guaranteeing more room to work and zero percent chance of dropping it. By following these instructions, you’ll be able to enjoy a cool and refreshing breeze in no time!
Step 1: Gather the Necessary Tools and Equipment
Before diving into the installation process, ensure you have all the essential tools and equipment readily available. These typically include a ladder, pliers, wire connectors, wire nuts, a voltage tester, a screwdriver, and of course, the ceiling fan with its corresponding components.
Step 2: Preparing for Installation
Before starting the installation, it is crucial to cut off the power to the existing light fixture you plan to replace with the ceiling fan. Locate the breaker in the electrical panel that controls this area and turn it off. Additionally, assemble the fan components according to the manufacturer’s instructions, ensuring all screws and brackets are firmly in place.
Step 3: Removing the Existing Fixture
Once the power is off and the ceiling fan is fully assembled, remove the existing light fixture carefully. Disconnect any wires connected to the fixture, making sure to remember their placement for later connections. Using a voltage tester, confirm that no electricity is running through the wires before proceeding to the next step.
Step 4: Attaching the Fan Mounting Bracket
The fan mounting bracket serves as the foundation for the ceiling fan. Secure the bracket to the ceiling electrical box using the provided screws. It is crucial to ensure the bracket is perfectly aligned and securely attached, as it will bear the weight of the fan.
Step 5: Connecting the Fan Wires
Now comes the wiring part. Begin by connecting the ground wire from the fan to the grounding wire in the electrical box using a wire connector. Next, connect the white (neutral) fan wire to the white (neutral) wire in the ceiling box and secure them with a wire nut. Repeat the same process for the black (hot) wires. It is essential to double-check all wire connections to guarantee safety and proper functioning.
Step 6: Installing Fan Blades and Light Fixture
Carefully attach the fan blades to the fan motor, ensuring they are evenly spaced and securely fastened. Once the fan is in place, add the light fixture if your ceiling fan comes with one. Attach the light fixture securely while following the manufacturer’s instructions.
Step 7: Testing and Finalizing
Finally, it’s time to test your newly installed ceiling fan. Turn the power back on and check if all functions are working correctly. Observe the fan’s stability, ensuring it is not wobbling excessively. If any issues arise, double-check the installation steps and consult the manufacturer’s instructions for troubleshooting.
FAQ
1. What should I do if my ceiling fan hanger feels unsafe?
If you feel that your ceiling fan hanger is unstable or unsafe, it is crucial to address the issue before installation. Consider consulting a professional electrician or contacting the fan manufacturer for guidance. Safety should always be your top priority.
2. What can I do if the wires provided with my ceiling fan are too short?
If you find that the wires supplied with your ceiling fan are too short to reach the electrical box, do not attempt to extend them. Instead, contact the manufacturer or a professional electrician to discuss the best course of action. Altering the wires yourself can compromise safety and functionality.
3. How do I ensure more room to work while installing a ceiling fan?
To ensure more room to work while installing a ceiling fan, it is advisable to clear the area beneath the installation site. Move furniture, decorations, or any other obstacles that could hinder your movement and access to the electrical box.
4. Is it necessary to hire a professional for ceiling fan installation?
While it is possible to install a ceiling fan yourself, it is recommended to hire a professional electrician, especially if you have limited experience or encounter any potential difficulties during the process. Professional installation ensures the fan is securely mounted, wires are correctly connected, and all safety measures are followed.
5. Can I install a ceiling fan in any room of my house?
Ceiling fans can be installed in most rooms of a house, including bedrooms, living rooms, kitchens, and covered outdoor spaces. However, it is important to ensure that the chosen location can support the weight of the fan and that the electrical connections are in place. For more specific guidelines, consult the manufacturer’s recommendations or seek professional advice.
Hanging a ceiling fan might appear daunting at first, but by following the provided steps and guidelines, you can enjoy a safe and hassle-free installation. Remember to prioritize safety, refer to the manufacturer’s instructions, and consider seeking professional assistance whenever necessary. With your ceiling fan securely mounted, you can look forward to greater comfort and improved air circulation in your living space. Stay cool!